
When I review a dog’s paw-care routine, I start with the dog standing and walking rather than reaching for the clippers. The way a dog places each foot often tells me more than a calendar does. One nail may be wearing differently, a dewclaw may be curling unnoticed, or the dog may keep shifting weight away from a sore toe. That short observation gives the rest of the check a purpose: find what is changing before it becomes painful.
Start with the standing dog
Look at all four feet on a level, non-slip surface. Compare the nails from side to side. Listen for clicking on a hard floor, but treat it as a clue rather than a universal trimming rule; foot shape, nail angle and gait differ between dogs. Nails that press into the floor, twist a toe, catch on fabric or curl toward a pad need attention. Check every dewclaw because it does not wear down during ordinary walks.
Then watch a few steps. A new limp, repeated paw lifting, shortened stride or reluctance to turn deserves a closer look. Do not assume the nails are the cause. A pad injury, something lodged between the toes, arthritis or another painful problem can produce similar changes.
Prepare before clipping
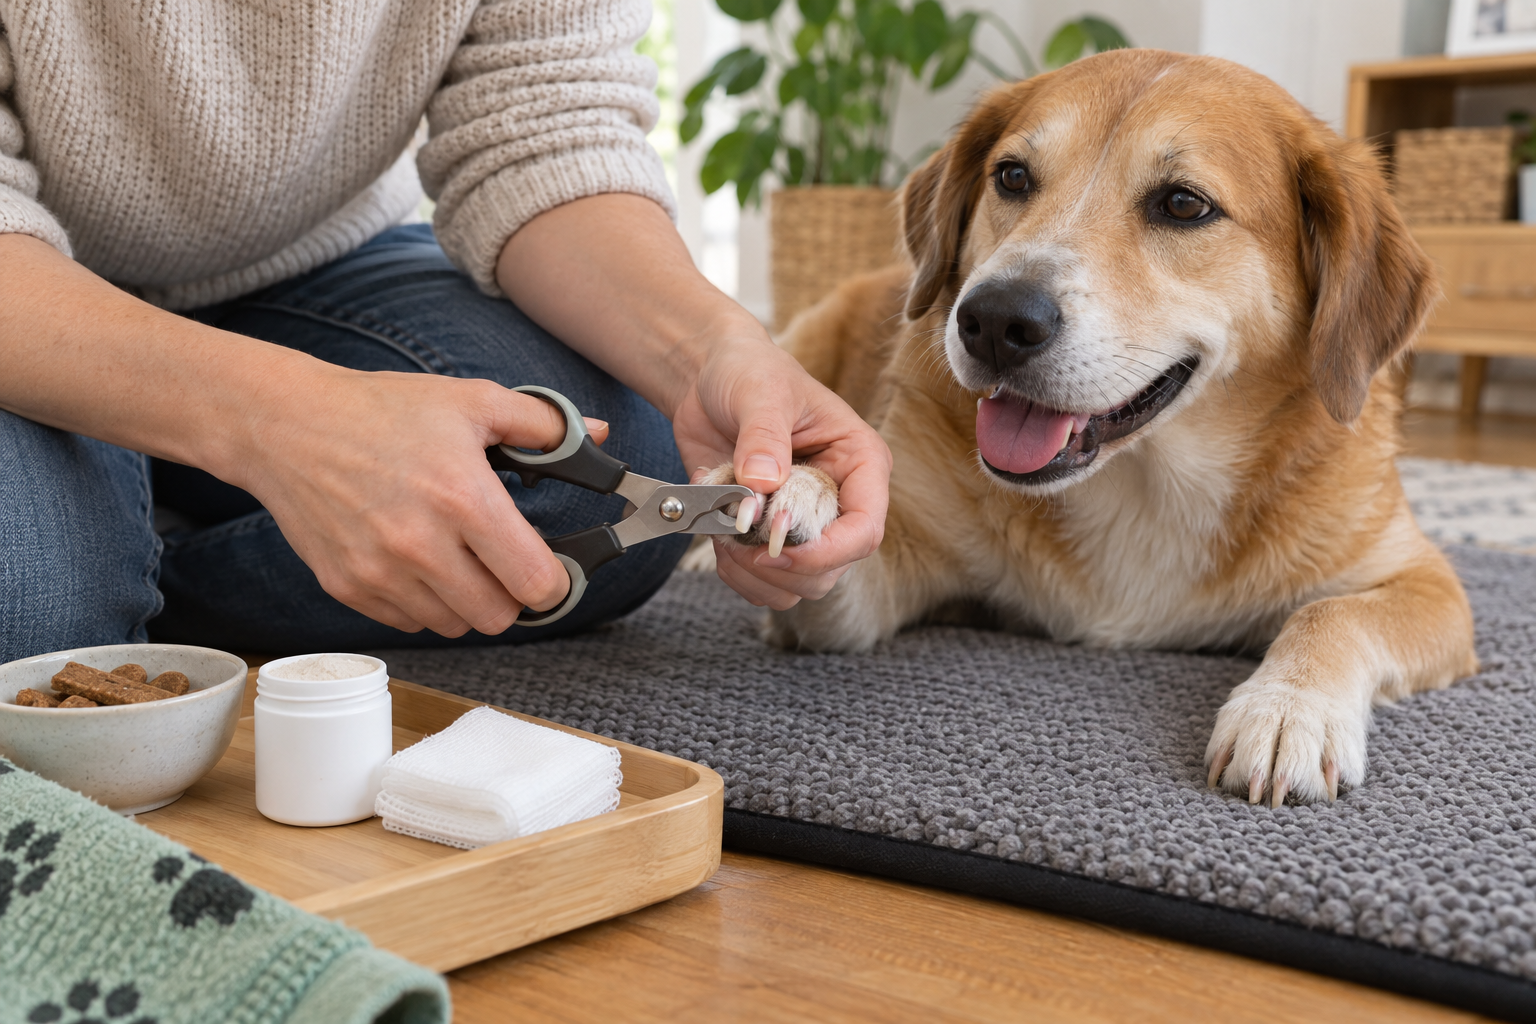
I set out everything before handling a paw: a non-slip mat, bright light, dog nail clippers or a grinder, treats, gauze and pet styptic powder. Scissor-style clippers provide a clear view of the cutting point for many dogs. VCA’s handling guidance cautions that a guillotine clipper with only one sharp blade can crush rather than cleanly cut the nail. Whatever tool you use should be sharp, the right size and comfortable in your hand.
Position the dog so the leg stays in a natural line. Hold one toe steadily without squeezing or pulling it sideways. If the dog is panting, freezing, snapping, repeatedly jerking the foot away or trying to escape, stop. Restraint can turn one difficult session into a lasting handling problem.
Trim only what you can identify
The quick contains blood vessels and nerves. In a pale nail, it may be visible as a pink core, but lighting and nail thickness can make the boundary less clear than photographs suggest. Cut well in front of it. With a dark nail, remove very thin slices from the tip and inspect the cut face after each one. Changes in texture or color can warn that you are approaching living tissue, but they are not a foolproof target. Stop early when you are uncertain.
There is no useful promise that every dog should be trimmed every two or four weeks. Growth, exercise surface, age and health all change the interval, and even the nails on one foot may wear unevenly. Record the date and what you removed, then check again before the nails begin changing the dog’s stance. Small, regular trims are easier to control than trying to shorten an overgrown nail in one session.
Teach the handling separately
A dog does not need to tolerate a full manicure on the first attempt. Begin when no trimming is planned: touch the shoulder, slide a hand down the leg, briefly hold a toe, reward and release. On later sessions, show the tool, touch it to a nail without cutting, and introduce the sound of the clipper or grinder at a comfortable distance. Progress only while the dog remains relaxed.
One cleanly trimmed nail can be a complete session. That is not a failed attempt. Short repetitions let the dog predict what will happen and give the handler time to notice subtle stress. A veterinary team or reward-based groomer can help when fear, pain or previous forced handling makes home care unsafe.
If the quick bleeds
Apply pet styptic powder as directed and hold steady pressure with clean gauze. Keep the dog quiet so the clot is not disturbed. If bleeding continues after several minutes of firm pressure, keeps restarting, or the dog seems weak or distressed, call a veterinarian. A nail split toward the base, hanging fragment, exposed nail bed or nail curled into the pad needs professional care; pulling or cutting a damaged piece at home can worsen pain and bleeding.
Check the pads and the spaces between toes
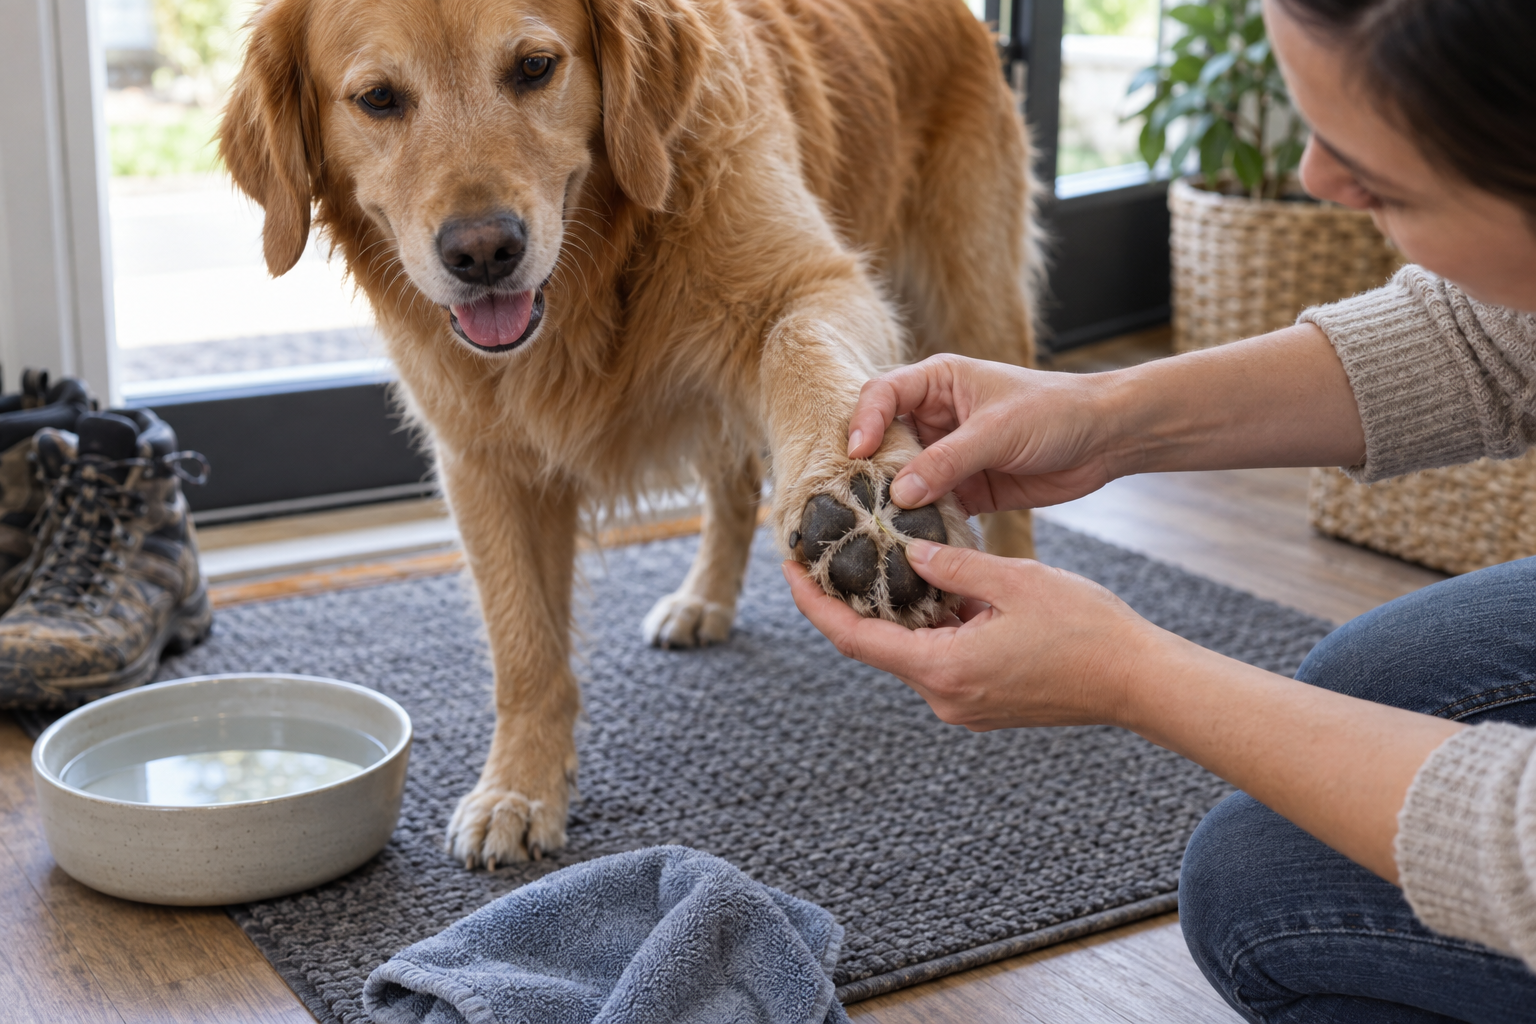
After a walk on rough ground, snow, treated sidewalks or dry grass, spread the toes gently and inspect the entire underside of each paw. I look for redness, swelling, cracks, cuts, blisters, discharge and material caught in the fur. Compare the feet: heat or swelling limited to one toe is easier to recognize when the opposite paw is checked too.
Loose surface grit can be rinsed away with lukewarm water, followed by thorough drying between the toes. Do not dig for a deeply embedded splinter, grass awn or piece of glass. Persistent licking often means the area still hurts or itches even when the object is hard to see.
Heat, winter chemicals and protective boots
Pavement can be much hotter than the air. AAHA recommends placing the back of a hand on the surface for seven seconds as a quick screen. It is still only a screen: seek shade, choose cooler walking times and pay attention to the dog. Limping, paw licking, redness, discoloration or blisters after heat exposure can signal a burn. Move the dog off the surface, cool the paws with cool water rather than ice, and contact a veterinarian for significant injury. Our summer heat safety guide for dogs covers the whole walk, including early heat-stress signs.
In winter, salt and de-icing products may irritate the pads or be swallowed during licking. Rinse and dry the feet after treated sidewalks. Well-fitted boots can help with hot, icy or chemically treated surfaces, but introduce them indoors and check for rubbing. The winter cold protection guide explains how paw protection fits into a cold-weather outing.
Nails, traction and older dogs
Long or misshapen nails can reduce comfortable contact with the floor, and slippery surfaces make that more obvious. For an older dog, note whether a nail trim changes confidence on turns or when rising, but do not use trimming as an explanation for every mobility change. Our senior dog mobility guide shows how nail length, paw hair, floor traction and veterinary assessment work together.
When a paw problem needs veterinary care
Arrange prompt veterinary advice for a sudden or persistent limp, a deep cut, a pad burn or blister, marked swelling, pus, a bad odor, a torn nail, a nail growing into the pad, or bleeding that does not stop with pressure. Repeated licking, chewing or reluctance to bear weight also deserves attention. These signs can come from infection, allergy, foreign material, trauma or disease around the nail bed, and the right treatment depends on the cause.
Sources used for this guide
- American Animal Hospital Association: How to Protect Dog Paws From Hot Pavement
- VCA Animal Hospitals: Handling Exercises for Trimming Nails
- VCA Animal Hospitals: First Aid for Broken Nails in Dogs
- American Kennel Club: How to Trim a Dog’s Nails Safely
Editorial note: The two care illustrations on this page were generated for DailyTrail to show the trimming and paw-check routines described. The retained paw-holding image is a stock photograph. None of the images documents an animal treated by the author. This article provides general care information and does not replace advice from a veterinarian or qualified groomer familiar with the dog.
[…] Practice when no cleaning is planned. Touch the cheek, lift an ear flap for a second, reward and release. On later sessions, show the gauze or bottle and reward calm investigation. Keep sessions short enough that the dog does not need to struggle to make them end. This same approach is useful for the foot handling described in our dog paw and nail care guide. […]